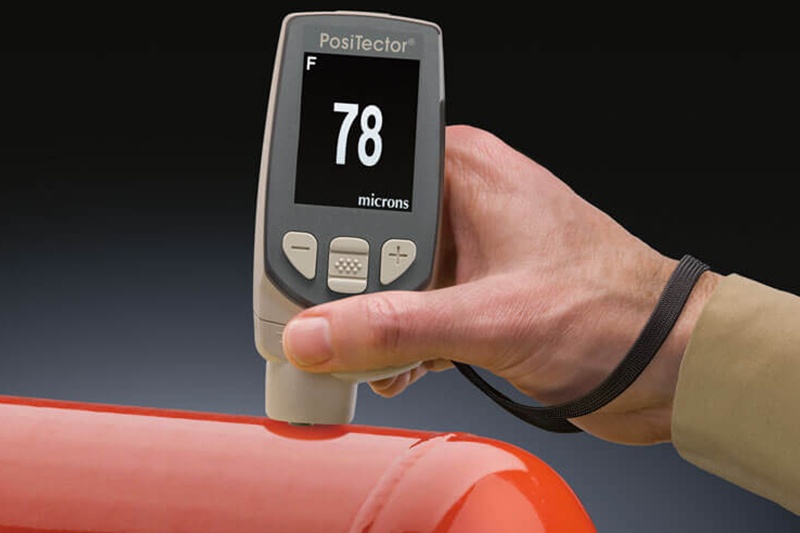
Many properties of coatings undergo significant changes with the change of thickness
Among them, we can mention adhesion, protection against corrosion, flexibility and hardness of the coating film.
Most protective coatings must be applied with specific thicknesses.
This is also true in multi-layer systems, usually in these cases a minimum and maximum value is considered for the thickness.
In addition to protection, it is also necessary from an economic point of view to obtain the optimal thickness of the coating for large surfaces, so one of the most important things that should be taken into account when measuring the mechanical resistance of coatings or comparing these resistances in different coatings is the thickness of the dry film of the coating.
Recommended method ASTM: D1400-00
In this method, devices that work based on eddy currents are used.
Due to the mechanical nature of the method, it is necessary to comply with the following points to achieve high accuracy.
1- It is necessary to calibrate the device before starting the test and periodically during the test. For this, you should refer to the instructions of the device manufacturer.
2- Before starting the test, it must be ensured that the surface of the coating to be tested and the sensor is completely clean and dry.
3- The measurement should be done in an environment away from magnetic or electric fields.
4- The number of measurement times should be chosen so that the obtained result is reliable.
It is suggested that this number is three times for a 75 x 150 mm laboratory plate, and for larger sheets, it should be chosen according to the size of the sheet.
In very large areas, 5 numbers should be recorded per 10 m2. Each of these 5 numbers should be the average of 3 numbers obtained in a circular area with a diameter of 4 cm.
5- The measurement should be done at a distance of at least 13 mm from the lips and corners.
The report of this test should include the type of device used, the range and the average of the obtained numbers.
suggested method: ASTM D1186-01
This standard is defined based on the magnetic property of the part surface.
Usually, two groups of devices are used for this purpose.
1- Devices that measure thickness using a calibrated spring (which is used to measure the force required to push a magnet away from an iron surface).
2- Devices that use electronic circuits to convert a basic signal to thickness by placing a sensor on the coating surface.
suggested method: ASTM : D1005-95
In this standard, 4 types of micrometers are introduced as follows for thickness measurement:
1- Fixed micrometers to measure the thickness of the coating film applied on the hard surface
2- Fixed micrometers to measure the thickness of the free coating film
3- Movable micrometers to measure the thickness of the coating film applied on the hard surface
4- Moving micrometers to measure the thickness of the free coating film